Beauty Box’s settings are resolution dependent. This means the same settings you have for HD may not work for 4K. On a basic level, it’s similar to applying a blur. A Gaussian Blur of 1.0 might be too much for a low res, 640×480 image, but might be almost unnoticeable on a 4K image.
Also, the ‘right’ settings may depending on the framing of the shot. Is the footage a tight close up where the talent’s face fills most of the frame? Or is it pulled back to show three or four actors? The settings that are ideal for one of those examples, probably won’t be ideal for the other one.
The default settings for Beauty Box are really designed for HD. And even for HD they may be a bit heavy, depending on the footage.
Often they aren’t the ideal settings for 4K (or 12K or whatever).
So in this post we’ll talk about what to do if you have 4K footage and aren’t getting the look you want.
Mainly I want to focus on Skin Detail Smoothing, as I think that plays a bigger role than most people think. AND you can set it negative!
Skin Detail Smoothing
As you might expect from the name, this attempts to smooth out smaller features of the skin: pores and other small textures. It provides sort of a second level of smoothing on top of the overall skin smoothing. You generally want this set to a lower value than the Smoothing Amount parameter.
If it’s set too high relative to Smoothing Amount, you can end up with the skin looking somewhat blurry and blotchy. This is due to Skin Detail Smoothing working on smaller areas of the skin. So instead of the overall smoothing, you get a very localized blur which can look blotchy.
So, first off: Set Skin Detail Smoothing to a lower value than Smoothing Amount. (usually: there are no hard and fast rules with this. It’s going to depend on your footage. But most of the time that’s a very good rule of thumb.
Negative Skin Detail Smoothing
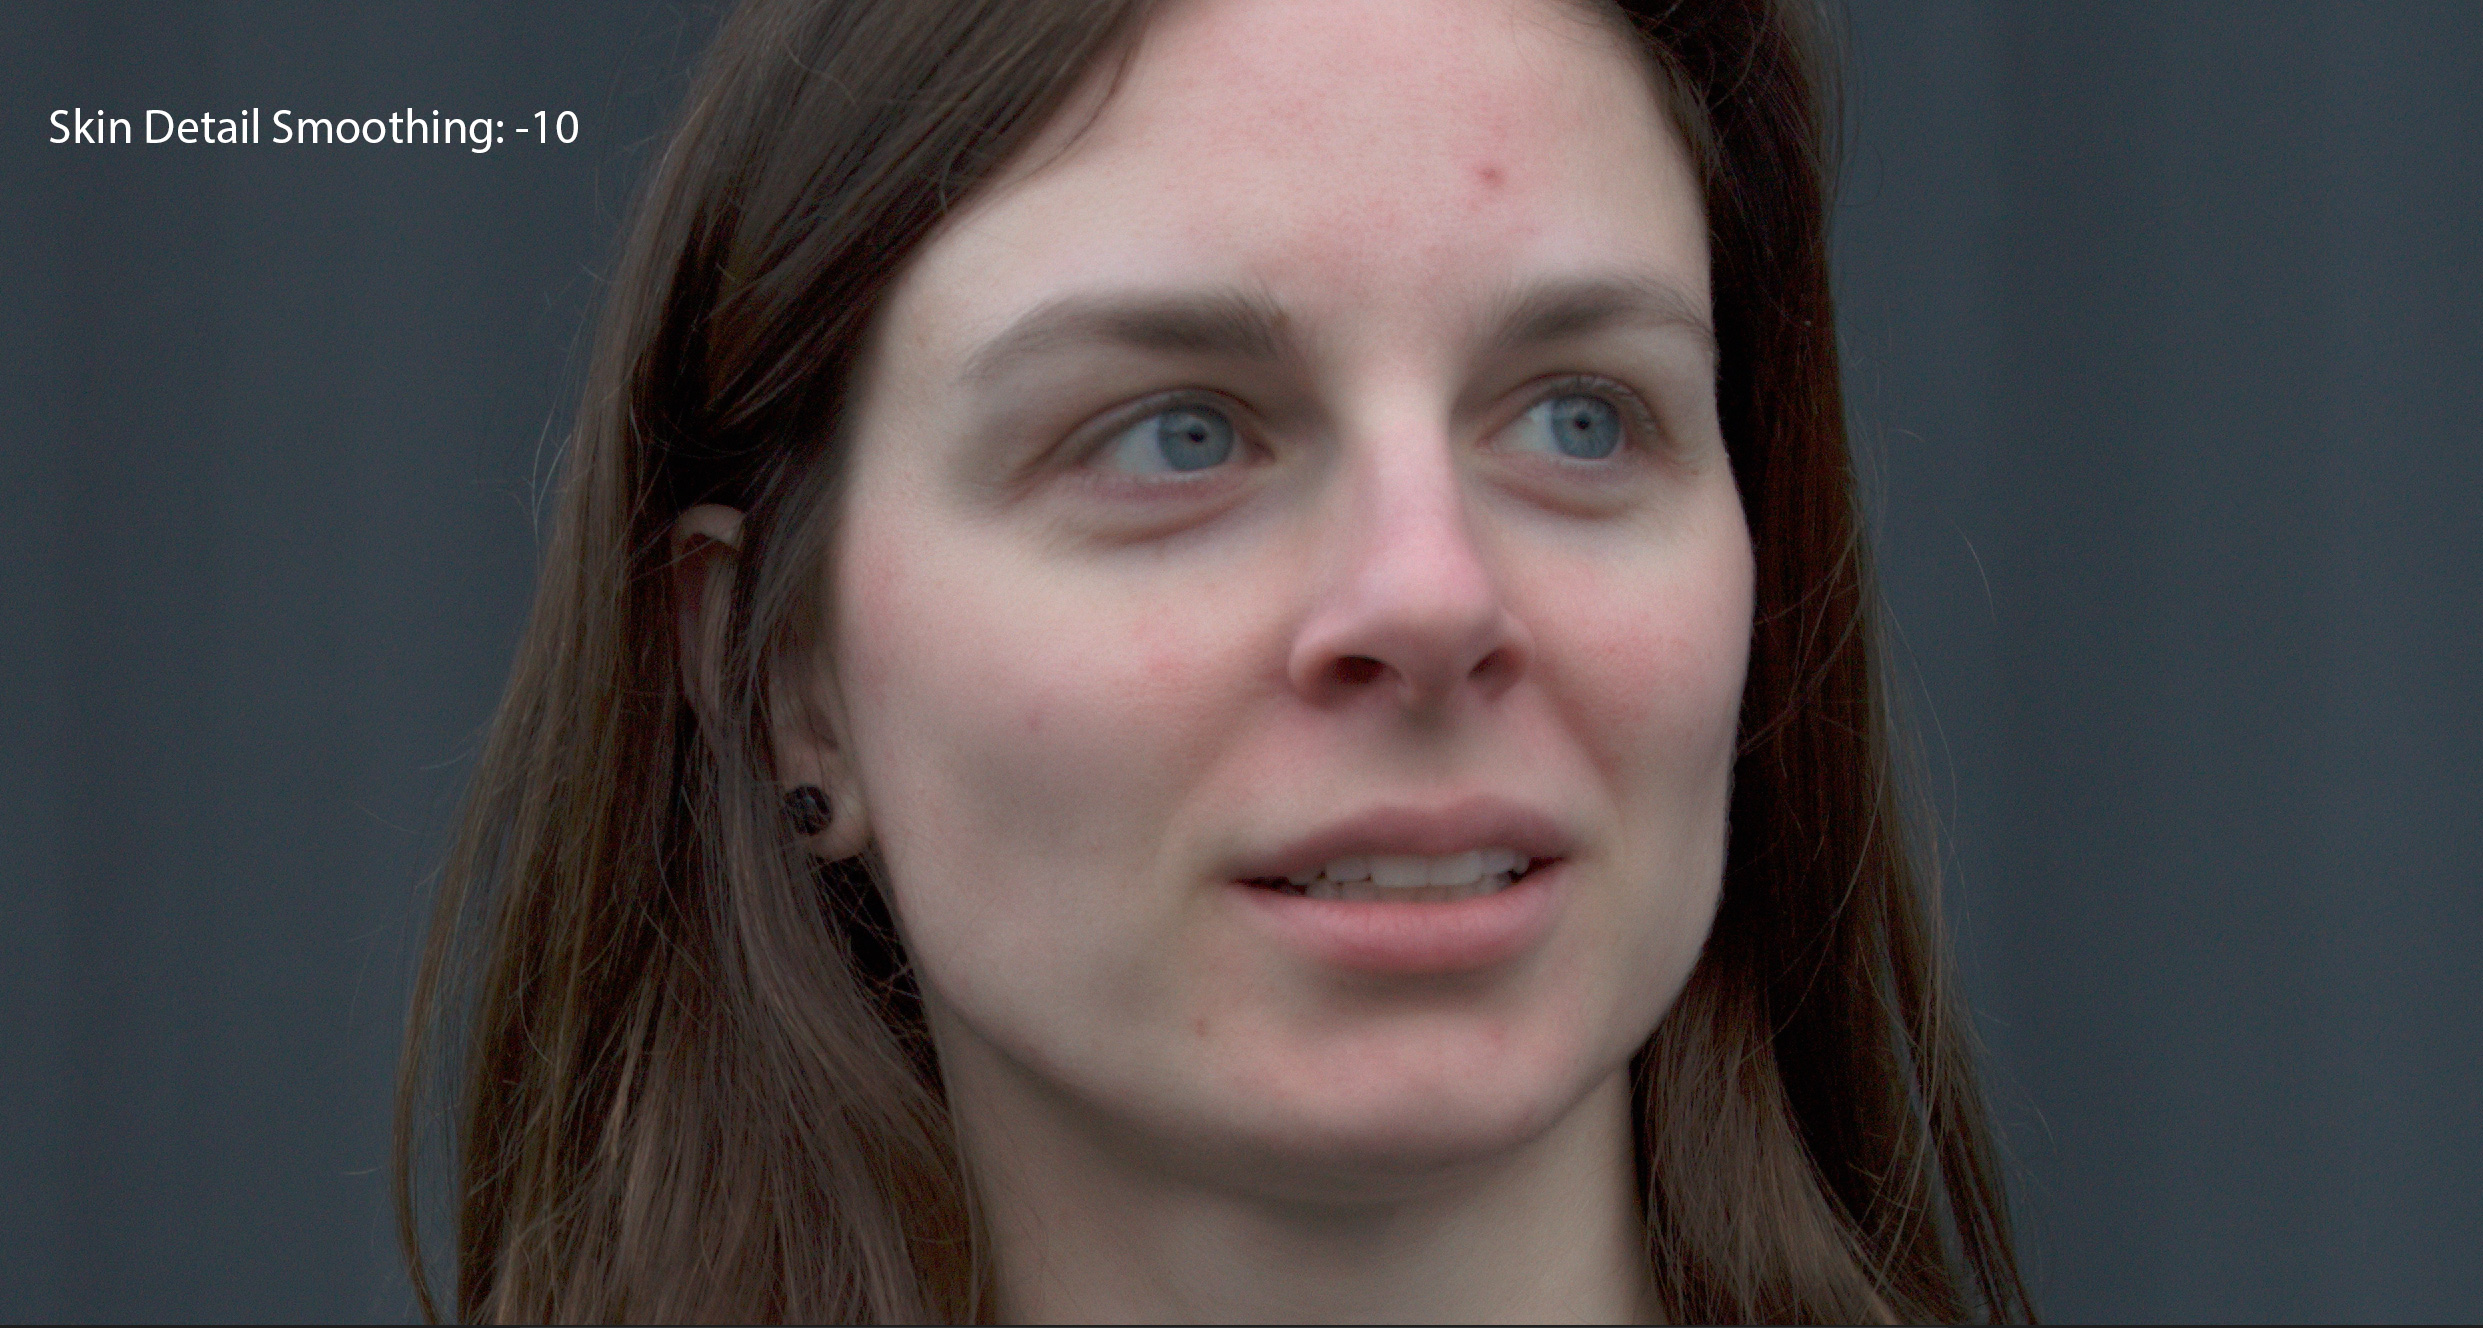
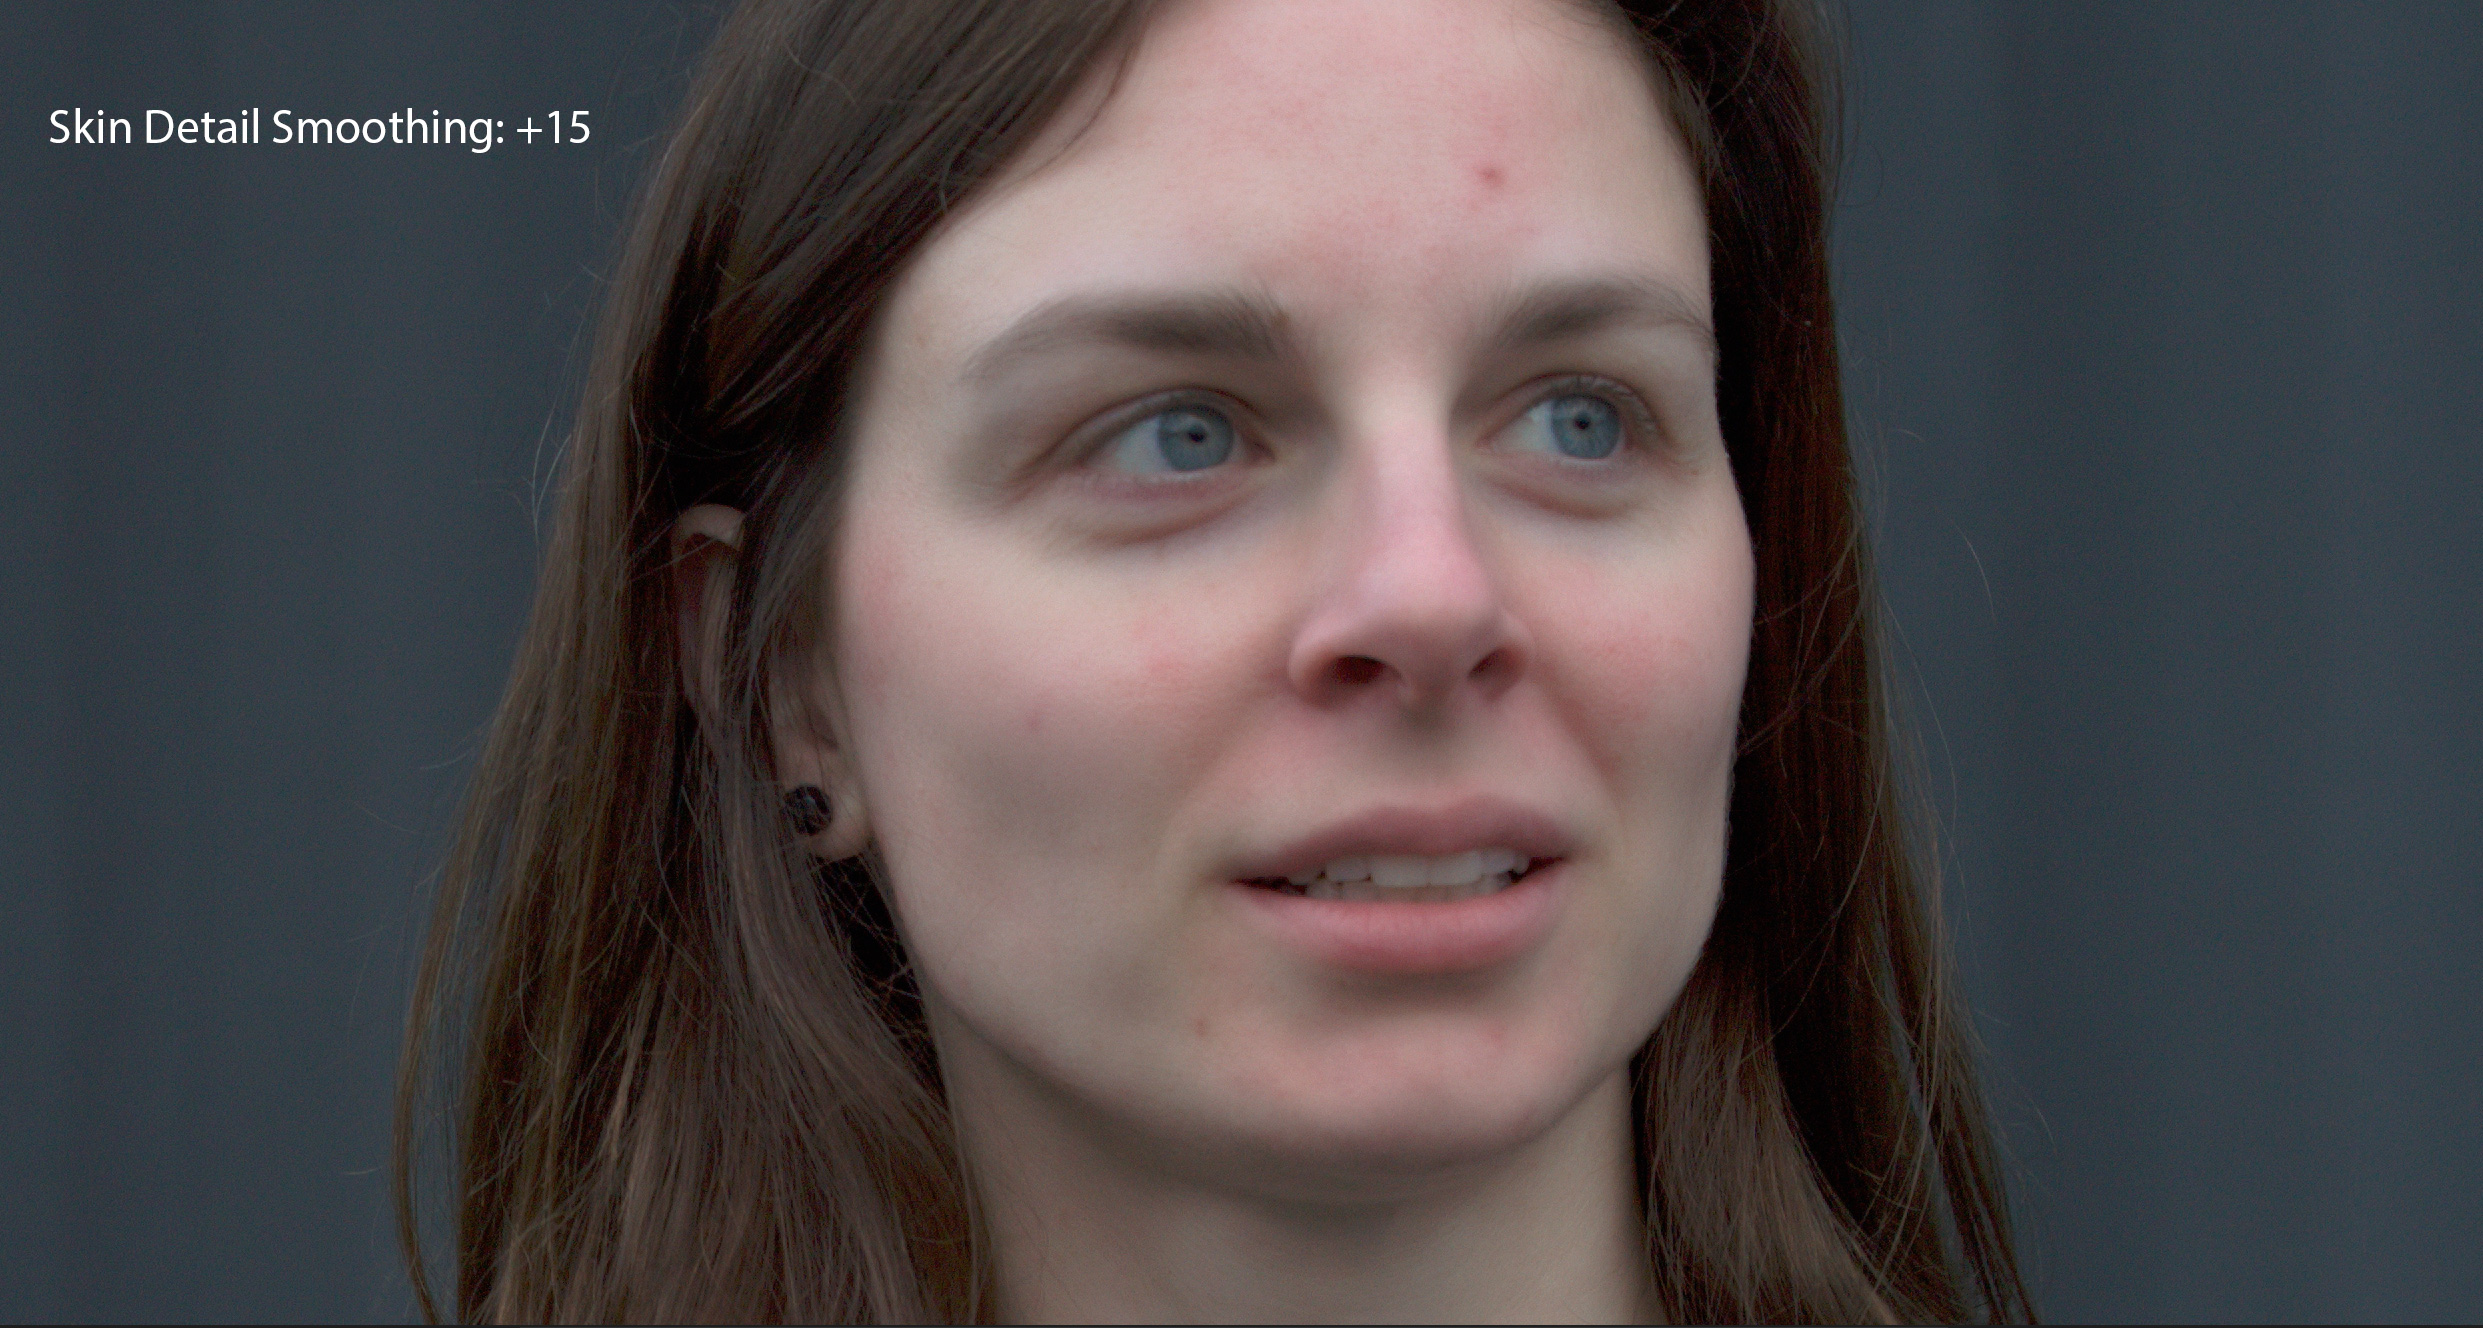
With 4k and higher resolutions it’s sometimes helpful to have a slightly negative value for Skin Detail Smoothing. Like -5 or -10. The smoothing algorithms occasionally add too much softness and a slightly negative value brings back some of the skin texture.
In the example, the area around her nose gets a bit soft and using a negative value, IMO, gives it a better look. The adjustment is pretty subtle but it does have an effect. You may have to download the full res images and compare them in Photoshop to truly see the difference. (click on the thumbnails below to see the full res images)


This definitely isn’t the case for all 4K footage and, as always, you’ll need to dial in the exact settings that work for your footage. But it’s important to know that Skin Detail Smoothing can be set negative and sometimes that’s beneficial.
Of course, I want to emphasize SLIGHTLY negative. Our Ugly Box free plugin makes use of negative Skin Detail Smoothing in a way that won’t make your footage look better. If you set it to -400… it’s good for Halloween but usually your clients won’t like you very much.