Tag Archives: digital makeup

Skin Detail Smoothing and 4K

Beauty Box’s settings are resolution dependent. This means the same settings you have for HD may not work for 4K. On a basic level, it’s similar to applying a blur. A Gaussian Blur of 1.0 might be too much for a low res, 640×480 image, but might be almost unnoticeable on a 4K image.

Also, the ‘right’ settings may depending on the framing of the shot. Is the footage a tight close up where the talent’s face fills most of the frame? Or is it pulled back to show three or four actors? The settings that are ideal for one of those examples, probably won’t be ideal for the other one.

The default settings for Beauty Box are really designed for HD. And even for HD they may be a bit heavy, depending on the footage.

Often they aren’t the ideal settings for 4K (or 12K or whatever).

So in this post we’ll talk about what to do if you have 4K footage and aren’t getting the look you want.

Mainly I want to focus on Skin Detail Smoothing, as I think that plays a bigger role than most people think. AND you can set it negative!

Skin Detail Smoothing

As you might expect from the name, this attempts to smooth out smaller features of the skin: pores and other small textures. It provides sort of a second level of smoothing on top of the overall skin smoothing. You generally want this set to a lower value than the Smoothing Amount parameter.

If it’s set too high relative to Smoothing Amount, you can end up with the skin looking somewhat blurry and blotchy. This is due to Skin Detail Smoothing working on smaller areas of the skin. So instead of the overall smoothing, you get a very localized blur which can look blotchy.

So, first off: Set Skin Detail Smoothing to a lower value than Smoothing Amount. (usually: there are no hard and fast rules with this. It’s going to depend on your footage. But most of the time that’s a very good rule of thumb.

Negative Skin Detail Smoothing

With 4k and higher resolutions it’s sometimes helpful to have a slightly negative value for Skin Detail Smoothing. Like -5 or -10. The smoothing algorithms occasionally add too much softness and a slightly negative value brings back some of the skin texture.

In the example, the area around her nose gets a bit soft and using a negative value, IMO, gives it a better look. The adjustment is pretty subtle but it does have an effect. You may have to download the full res images and compare them in Photoshop to truly see the difference. (click on the thumbnails below to see the full res images)
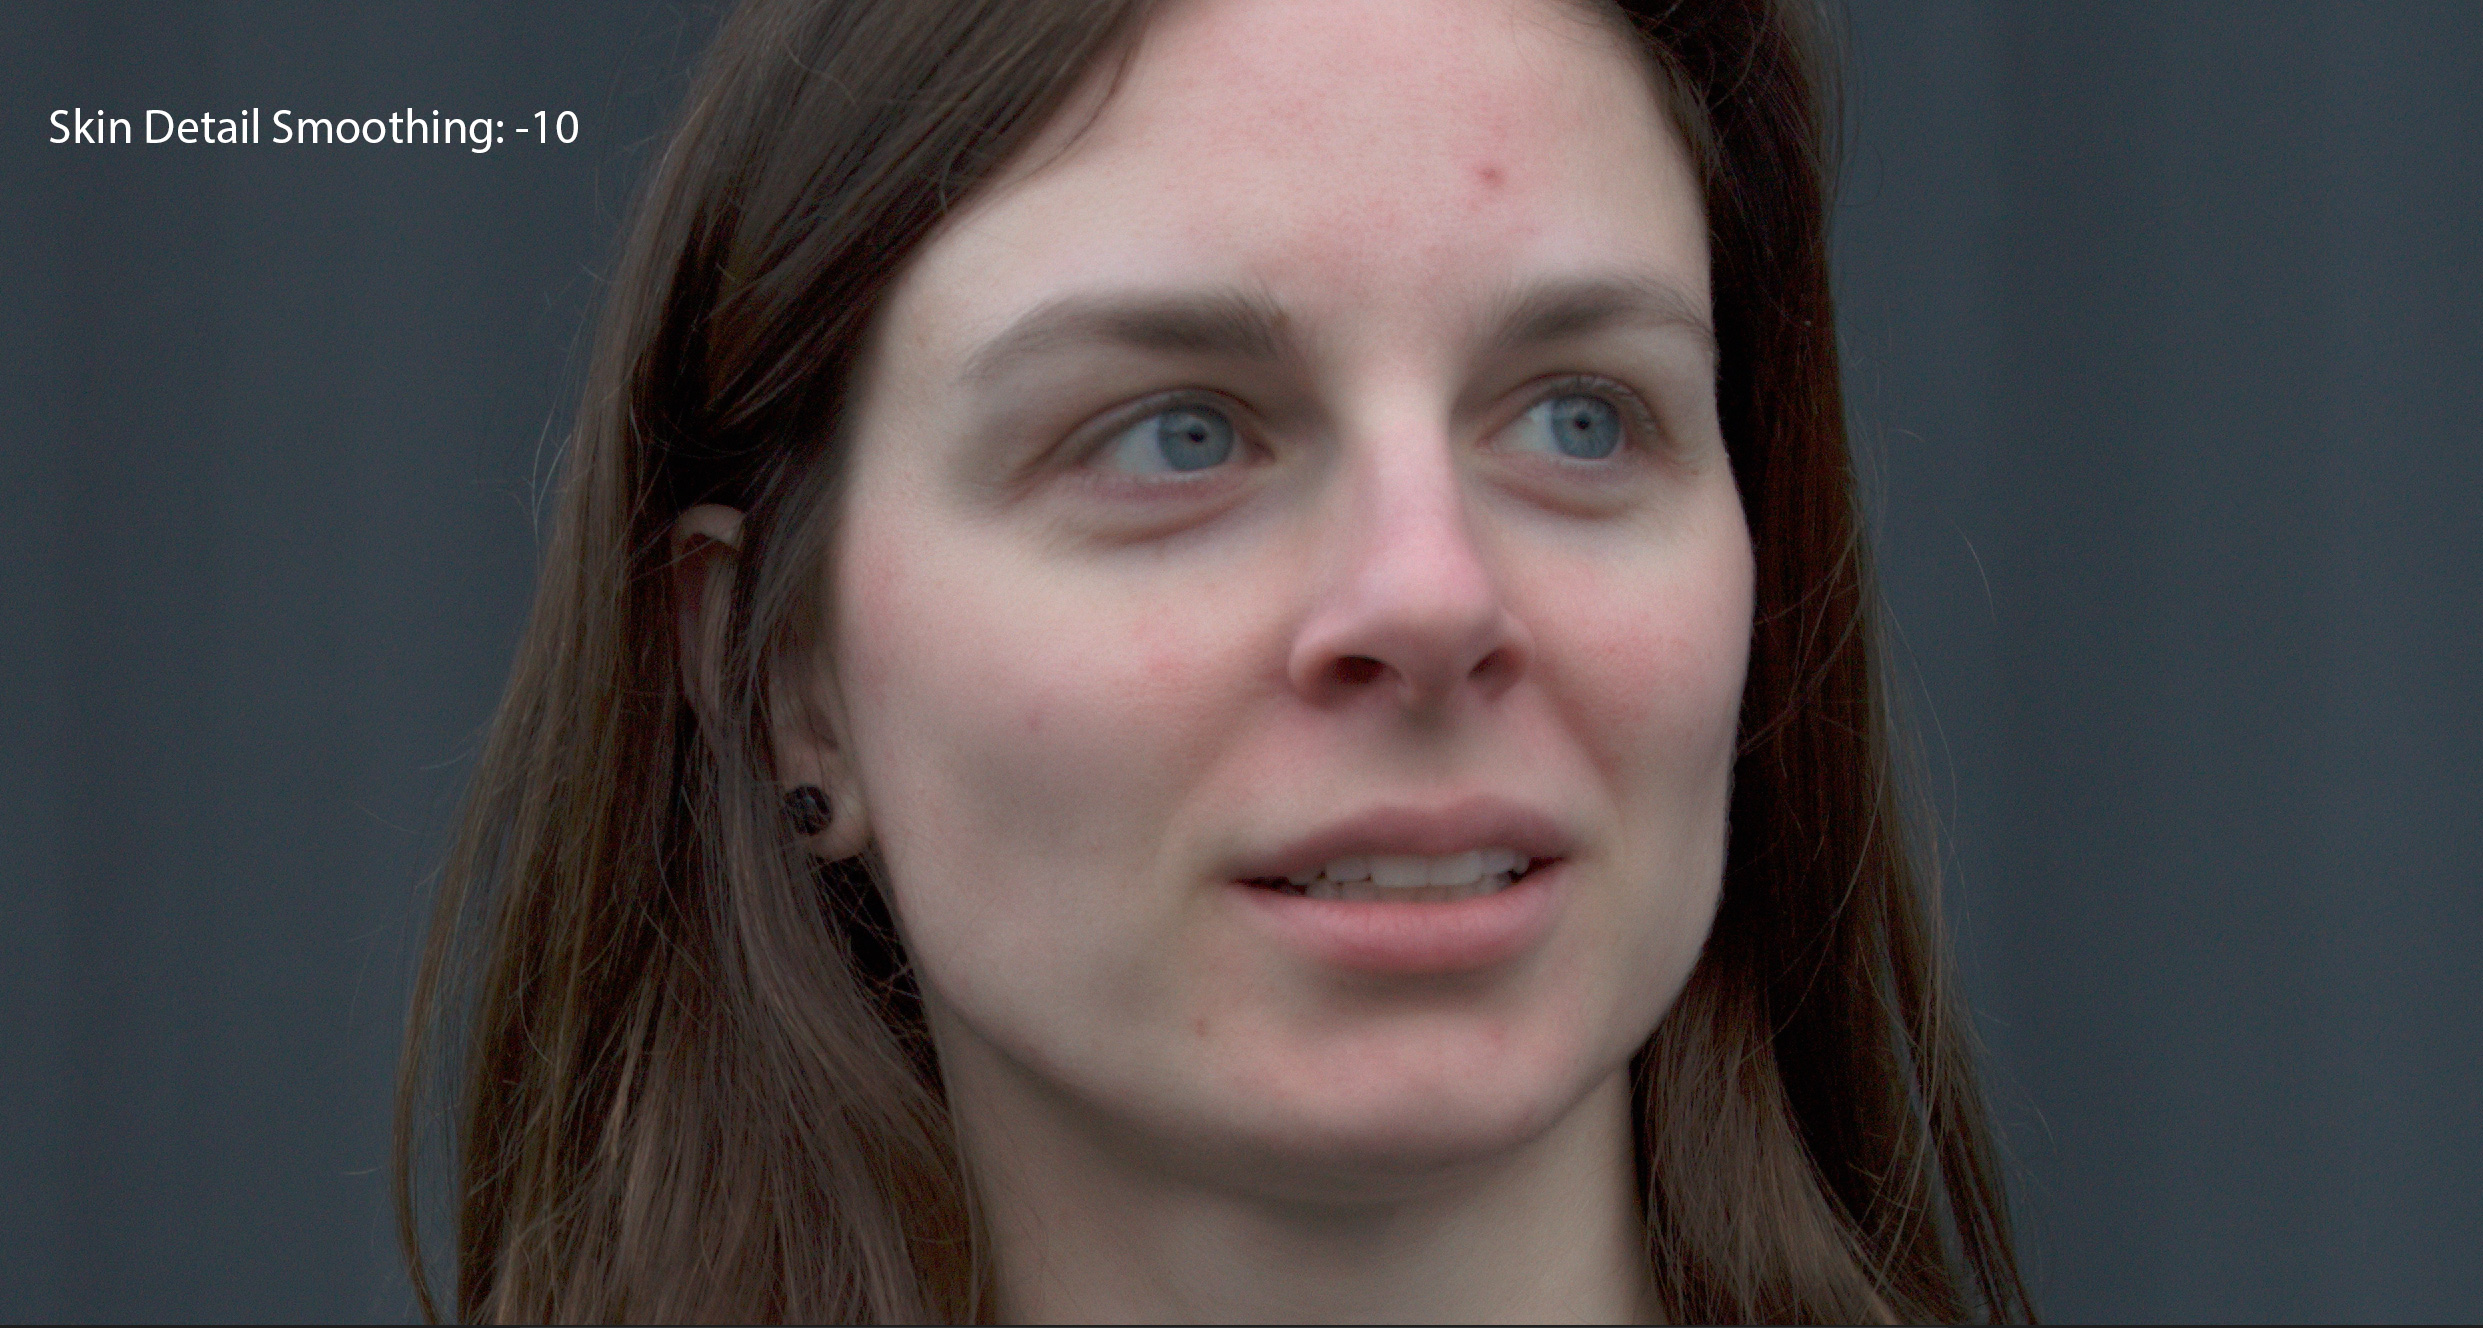
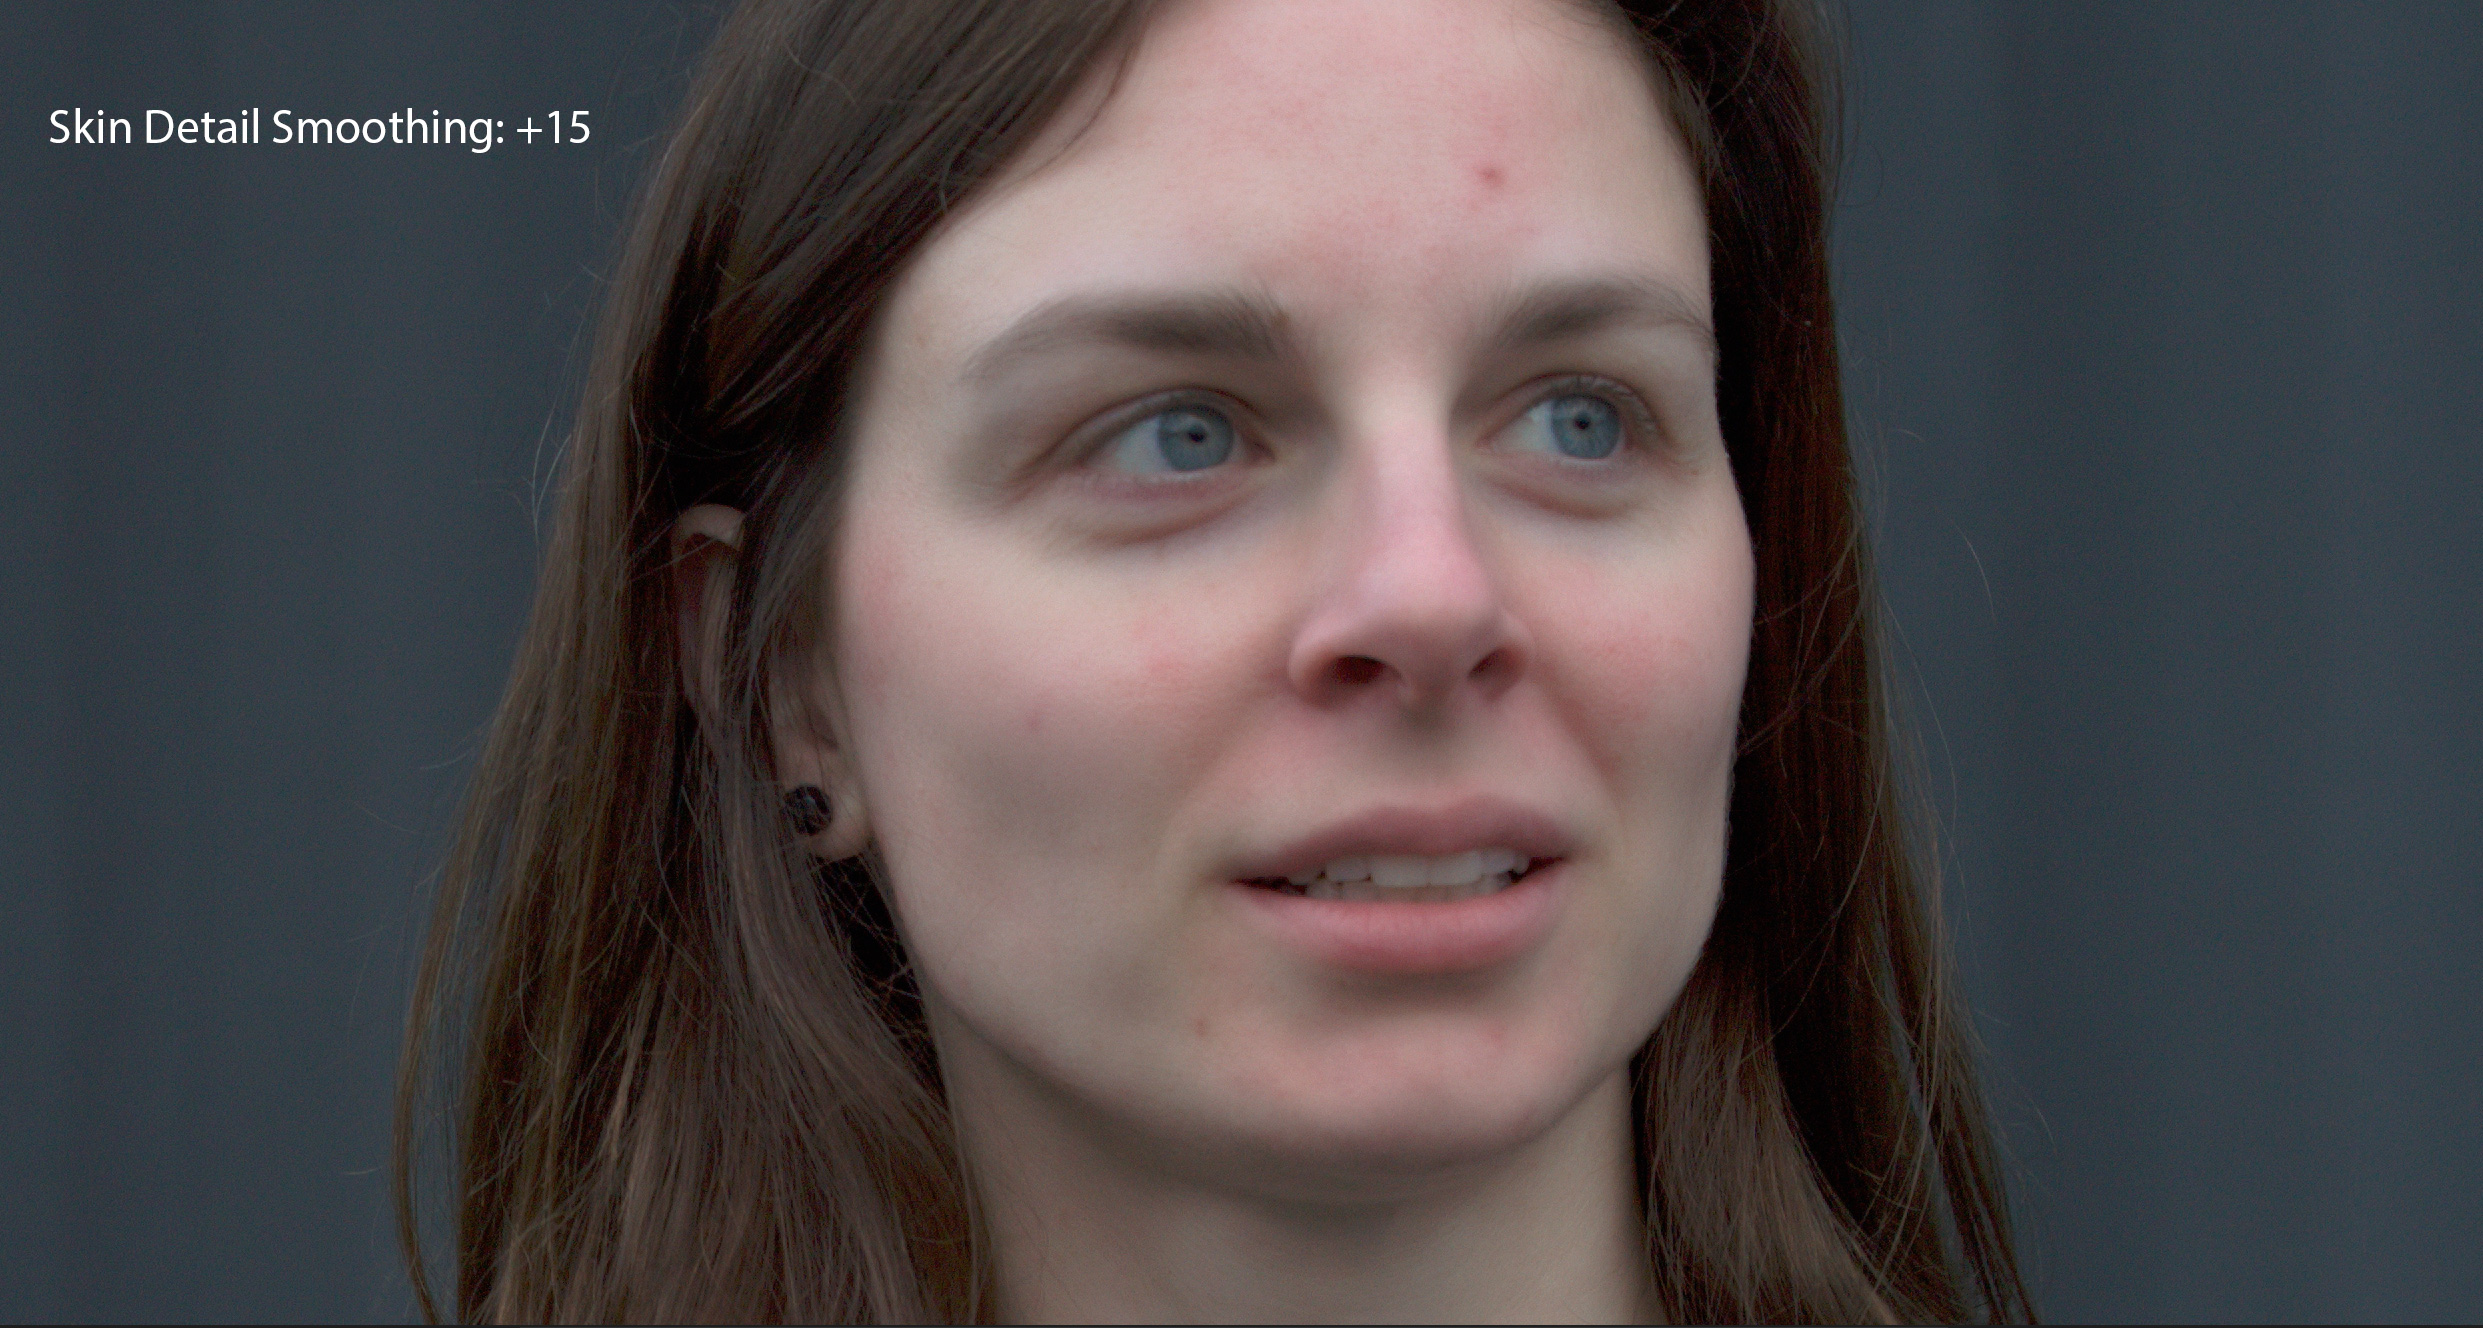
This definitely isn’t the case for all 4K footage and, as always, you’ll need to dial in the exact settings that work for your footage. But it’s important to know that Skin Detail Smoothing can be set negative and sometimes that’s beneficial.

Of course, I want to emphasize SLIGHTLY negative. Our Ugly Box free plugin makes use of negative Skin Detail Smoothing in a way that won’t make your footage look better. If you set it to -400… it’s good for Halloween but usually your clients won’t like you very much.

Creating the Grinch on Video Footage with The Free Ugly Box Plugin

We here at Digital Anarchy want to make sure you have a wonderful Christmas and there’s no better way to do that than to take videos of family and colleagues and turn them into the Grinch. They’ll love it! Clients, too… although they may not appreciate it as much even if they are the most deserving. So just play it at the office Christmas party as therapy for the staff that has to deal with them.

Our free plugin Ugly Box will make it easy to do! Apply it to the footage, click Make Ugly, and then make them green! This short tutorial shows you how:

You can download the free Ugly Box plugin for After Effects, Premiere Pro, Final Cut Pro, and Avid here:

https://digitalanarchy.com/register/register_ugly.php

Of course, if you want to make people look BETTER, there’s always Beauty Box to help you apply a bit of digital makeup. It makes retouching video easy, get more info on it here:

https://digitalanarchy.com/beautyVID/main.html

Comparing Beauty Box To other Video Plugins for Skin Retouching/Digital Makeup

We get a lot of questions about how Beauty Box compares to other filters out there for digital makeup. There’s a few things to consider when buying any plugin and I’ll go over them here. I’m not going to compare Beauty Box with any filter specifically, but when you download the demo plugin and compare it with the results from other filters this is what you should be looking at:

  • Quality of results
  • Ease of use
  • Speed
  • Support

Support

I’ll start with Support because it’s one thing most people don’t consider. We offer as good of support as anyone in the industry. You can email or call us (415-287-6069). M-F 10am-5pm PST. In addition, we also check email on the weekends and frequently in the evenings on weekdays. Usually you’ll get a response from Tor, our rockstar QA guy, but not infrequently you’ll talk to myself as well. Not often you get tech support from the guy that designed the software. :-)

Quality of Results

The reason you see Beauty Box used for skin retouching on everything from major tentpole feature films to web commercials, is the incredible quality of the digital makeup. Since it’s release in 2009 as the first plugin to specifically address skin retouching beyond just blurring out skin tones, the quality of the results has been critically acclaimed. We won several awards with version 1.0 and we’ve kept improving it since then. You can see many examples here of Beauty Box’s digital makeup, but we recommend you download the demo plugin and try it yourself.

Things to look for as you compare the results of different plugins:

Skin Texture: Does the skin look realistic? Is some of the pore structure maintained or is everything just blurry? It should, usually, look like regular makeup unless you’re going for a stylized effect.
Skin Color: Is there any change in skin tones?
Temporal Consistency: Does it look the same from frame to frame over time? Are there any noticeable seams where the retouching stops.
Masking: How accurate is the mask of the skin tones? Are there any noticeable seams between skin and non-skin areas? How easy is it to adjust the mask?

Ease of Use

One of the things we strive for with all our plugins is to make it as easy as possible to get great results with very little work on your end. Software should make your life easier.

In most cases, you should be able to click on Analyze Frame, make an adjustment to the Skin Smoothing amount to dial in the look you want and be good to go. There are always going to be times when it requires a bit more work but for basic retouching of video, there’s no easier solution than Beauty Box.

When comparing filters, the thing to look for here is how easy is it to setup the effect and get a good mask of the skin tones? How long does it take and how accurate is it?

Speed

If you’ve used Beauty Box for a while, you know that the only complaint we had with it with version 1.0 was that it was slow. No more! It’s now fully GPU optimized and with some of the latest graphics cards you’ll get real time performance, particularly in Premiere Pro. Premiere has added better GPU support and between that the Beauty Box’s use of the GPU, you can get real time playback of HD pretty easily.

And of course we support many different host apps, which gives you a lot of flexibility in where you can use it. Avid, After Effects, Premiere Pro, Final Cut Pro, Davinci Resolve, Assimilate Scratch, Sony Vegas, and NUKE are all supported.

Hopefully that gives you some things to think about as you’re comparing Beauty Box with other plugins that claim to be as good. All of these things factor into why Beauty Box is so highly regarded and considered to be well worth the price.